


Showing posts with label Fb Timeline cover. Show all posts
Showing posts with label Fb Timeline cover. Show all posts
Friday, 16 August 2013
Candy Rose Timeline Cover Featuring

Tuesday, 15 January 2013

Tutorial written on 16th January 2012
This tutorial assumes you have working knowledge of Adobe Photoshop CS2
♥ Supplies Needed ♥
♥ You Need SATC License Number to use this Art
♥ Font of Choice I used Palatino Linotype
Open new image (ctrl+n) 853x315 px with black bg color
Select Rectangular marquee Tool > Set Style Fixed size 840x303px
now click on your image and make rectangular box with Rectangular marquee Tool
fill it with color with paint bucket tool Name it white box
open Scrpkit paper 5 (resize 105x105%) paste it on image white box
and cut the paper part sticking out the white box
and cut the paper part sticking out the white box
double click layer and apply stroke add glitter pattern i have added silver glitter pattern
Open tube file copy and paste closeup tube layer (resize 80x80%) on right side of boxcute the tube part sticking out the white box
now copy 2nd layer of tube paste it at center of box (resize 40x40%) Filp horizontal
Open Element Bling rain behind tube layers
Select Rectangular marquee Tool make wide box with it
as shown in image below
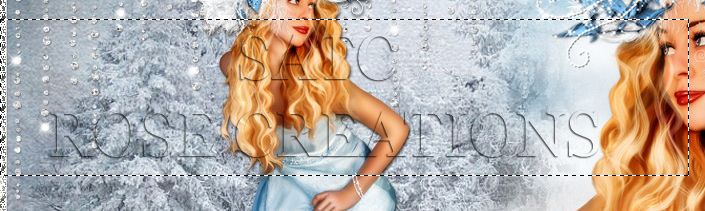
fill it with paint bucket color #dbdcdc and reduce opacity 70%
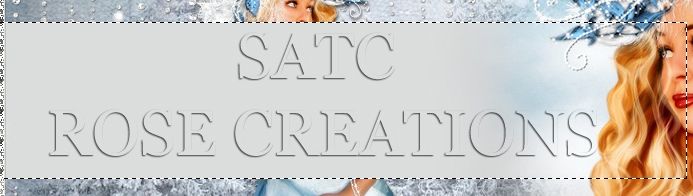
Open WA3 Element paste it on box resize 70x70% add drop shadow
Open Element Bow1(resize 60x60%) and Flower1 (resize 20x20%) paste
them on upper left side of the winter text box
Copy Bird Element (resize 20x20%) paste it on letter E on Winter text
copy paste element Circle line on left lover part of image as shown in image
them on upper left side of the winter text box
Copy Bird Element (resize 20x20%) paste it on letter E on Winter text
copy paste element Circle line on left lover part of image as shown in image
♥ Add copyright info and license number correctly
Now add text Fairy add effects stroke size 2 (color#white) ,
drop shadow, add pattern overlay of your choice i have added silver glitter pattern
Add Text Rose (any name u want) add effects stroke size 2 (color#white) ,
drop shadow, add pattern overlay of your choice i have added blue glitter pattern
drop shadow, add pattern overlay of your choice i have added silver glitter pattern
Add Text Rose (any name u want) add effects stroke size 2 (color#white) ,
drop shadow, add pattern overlay of your choice i have added blue glitter pattern
save your image as JPG
I hope you enjoyed this Tutorial
Thursday, 8 November 2012
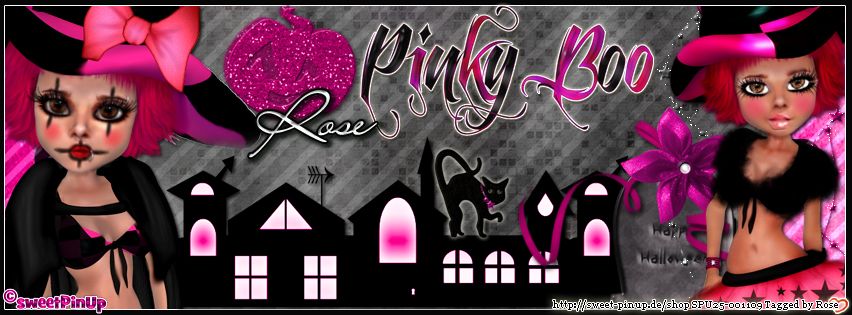
I love my Teddy Fb timeline Cover Featuring PTU SPU-Sally-01 By SweetPinUp
If you want this cover with your name Click HERE

Sunday, 23 September 2012
Wednesday, 19 September 2012
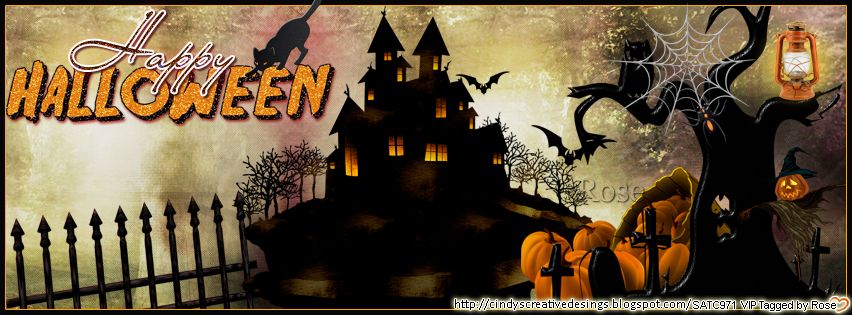
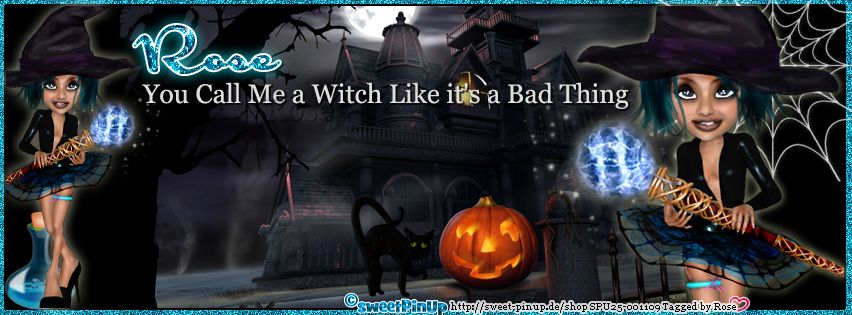
Tutorial written on 19th September 2012
This tutorial assumes you have working knowledge of Adobe Photoshop CS2
♥ Supplies Needed ♥
♥ Scrap Kit of Choice I Used PTU Pumpkin Pixie Halloween
By Cindy's Creative Designs at SATC
♥ You Need SATC License Number to use this Art
♥ Font of Choice I used LainieDaySH
Open new image (ctrl+n) 853x315 px with black bg color
Select Rectangular marquee Tool > Set Style Fixed size 840x303px
now click on your image and make rectangular box with Rectangular marquee Tool
fill it with color with paint bucket tool Name it white box
open ccd paper15 paste it on image white box and cut the paper part sticking out the white box
double click layer and apply stroke size1 color #fea700
Open element ccd-light1 (resize 20x20%) , ccd-pumpkins1 (resize 40x40),
ccd-scarecrow1, (resize 20x20%), ccd-spiderweb1 (resize 30x30%), ccd-tree1 (resize 60x60%)
paste them on right side of white box and cut all the parts sticking out of the box
Open Element ccd-hauntedhouse1 (resize 60x60%) paste it at center
and ccd-fence1 (resize 60x60%), ccd-cat1 (resize 20x20%)
paste them on left side of the white box as shown in image.
open wordart1 (resize 50x50%) paste it on left upper side
♥ Add copyright info and license number correctly
Now add text Happy add effects stroke size 2 (color#white) ,
drop shadow, add pattern overlay of your choice
drop shadow, add pattern overlay of your choice
save your image as JPG
I hope you enjoyed this Tutorial 
Friday, 14 September 2012
Autumn is here Fb Timeline Cover Featuring Scrap kit Autumn Notes by Bibi's Collection
View More Fb covers Here

Thursday, 13 September 2012


Friday, 24 August 2012

Subscribe to:
Posts
(Atom)